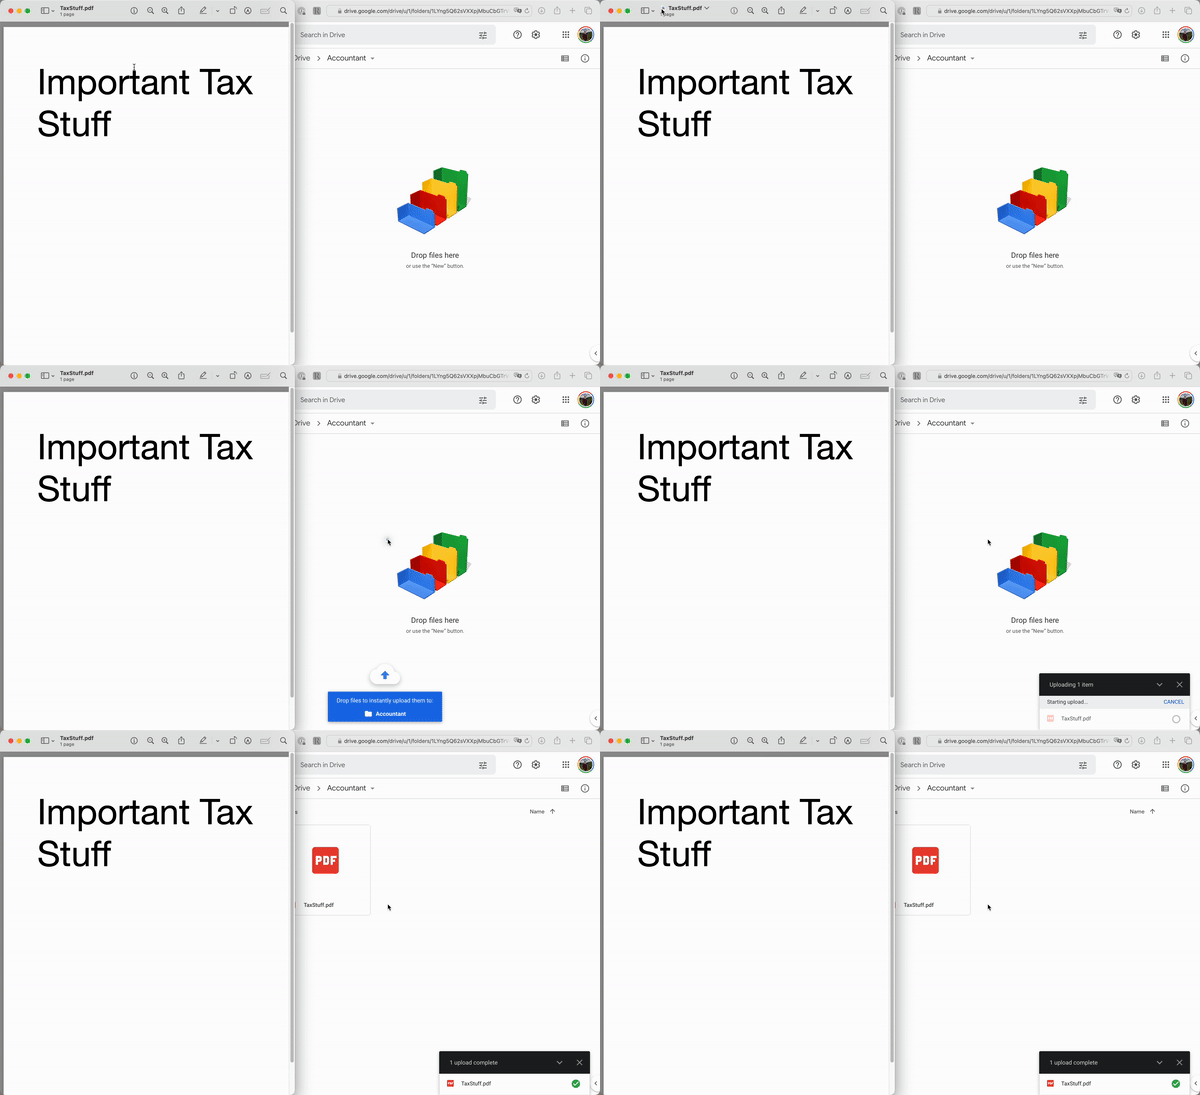
Apple has made macOS very good at handling drag and drops. For example, I often pull a picture right out of the Photos app or Safari and drop it into iMessage or Slack. One thing that’s always slowed me down, though, is moving around more traditional files, like PDFs or other documents.
But then I learned that quite a few apps, including many of the built-in ones, have a quick shortcut to get at the file you’re viewing. Using this shortcut (which is officially called the proxy icon), you can easily do things like upload a PDF you have open in Preview to Google Drive without having to go looking for the file in Finder. Here’s how it works:

The trick is using the title bar, which is the area where Apple puts the traffic light-style window controls and the name of the file you have open as well as other buttons, depending on the app. If you hover over that file name for a second, you may notice that a little icon appears to the left of it. (Some apps don’t require the hover.) This is what lets us do our magic. If you click and drag that icon, you’ll basically be clicking and dragging the actual file as if you were using the file manager.
To be clear, this is not a new feature of the latest macOS beta or anything. I’m pretty sure I learned about it when someone mentioned it in the context of features that have been around so long that young whippersnappers like me have never even heard of them. So, yes, I am a bit late to the party here. But now that I finally learned about it, I use it all the time.
One of my most common use cases is when I have to read through a PDF for work and then upload it to DocumentCloud so I can embed it in an article. I used to do that by minimizing Preview and then hunting around for the document on my crowded desktop, using Quick Look (the thing that previews a document when you press the space bar) to make sure I wasn’t uploading the wrong thing. Now, I can just drag and drop the thing I’m reading straight from Preview, much like I do in the GIF above.
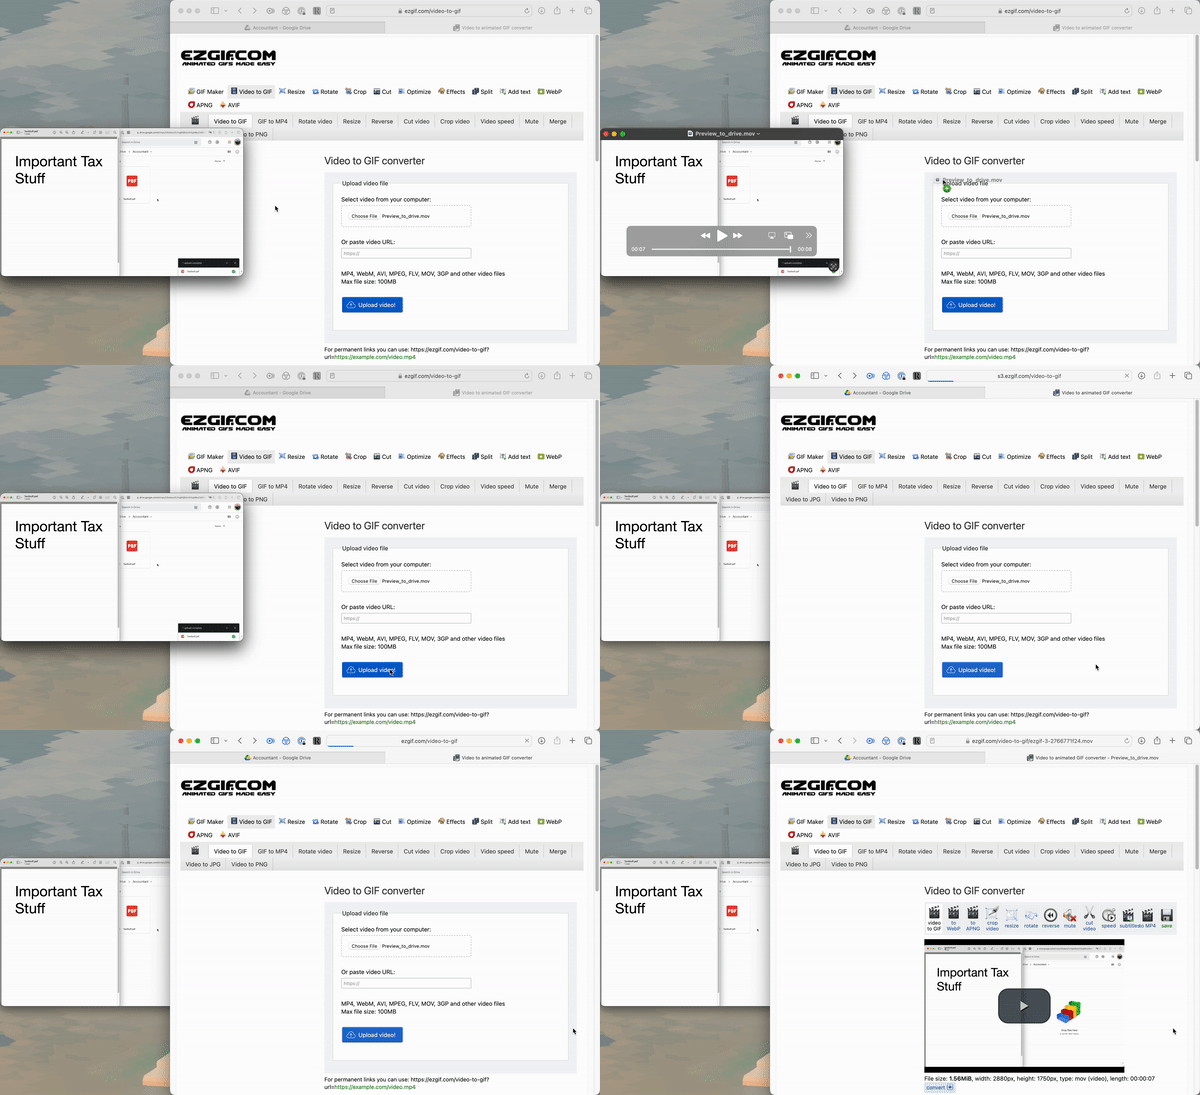
I’ve also found plenty of other ways to use the feature. If I have Finder in a certain mode, I can use it to quickly copy the path of the folder I’m in into Terminal. (Bonus tip: if you drag and drop a file or folder into Terminal, macOS will just insert the path to it.) I even used this feature on QuickTime to make the screen recorded GIFs you’ve been seeing in this article.

While this won’t necessarily apply if you’re just using this feature to share files between apps, I do have one word of caution if you, like me, think “wait, what happens if I drag the file from the title bar into a Finder window?” The answer is that it’ll move the file from wherever it is currently to wherever you dropped it. That’s a reasonable default, I suppose, but it could end up being confusing if you assumed that it would copy and paste the file rather than cut and paste it.
Unfortunately, this isn’t something that every single app can do. I couldn’t find a way to grab files from Obsidian or Photoshop, for example — though the latter isn’t exactly surprising. But there are a fair number of apps that I have been able to use it with, including Pages, Blender, Logic Pro, Nova, and even Microsoft Word of all things. If there’s an app you’re looking at files in frequently, it’s worth checking if it supports this feature; you never know when it’ll come in handy.
But wait, I’ve got one last bonus tip if you’re sticking around in the title bar — though if I’m being honest, it’s a bonus because I haven’t run into any situations where it’d be useful. In addition to being able to drag the file icon, you can also right-click it to see which folder that file lives in (and which folder that folder is in, and so on and so on). From there, you can use the list to quickly open a Finder window navigated to that folder.
:no_upscale()/cdn.vox-cdn.com/uploads/chorus_asset/file/23909819/Screenshot_2022_07_29_at_08.32.57.png)
While discovering this system wasn’t an earth-shattering revelation that 10x-ed my productivity, it has helped cut down on the amount of time I’ve spent searching for files I already have open. And that’s great because having to do that can, ironically, be a real drag.